Making and releasing a new pattern is never something I do alone.
This time, the initial idea came from Marieke Kranenburg. She said: “You should make another Mochila mandala, but this time a smaller one.”
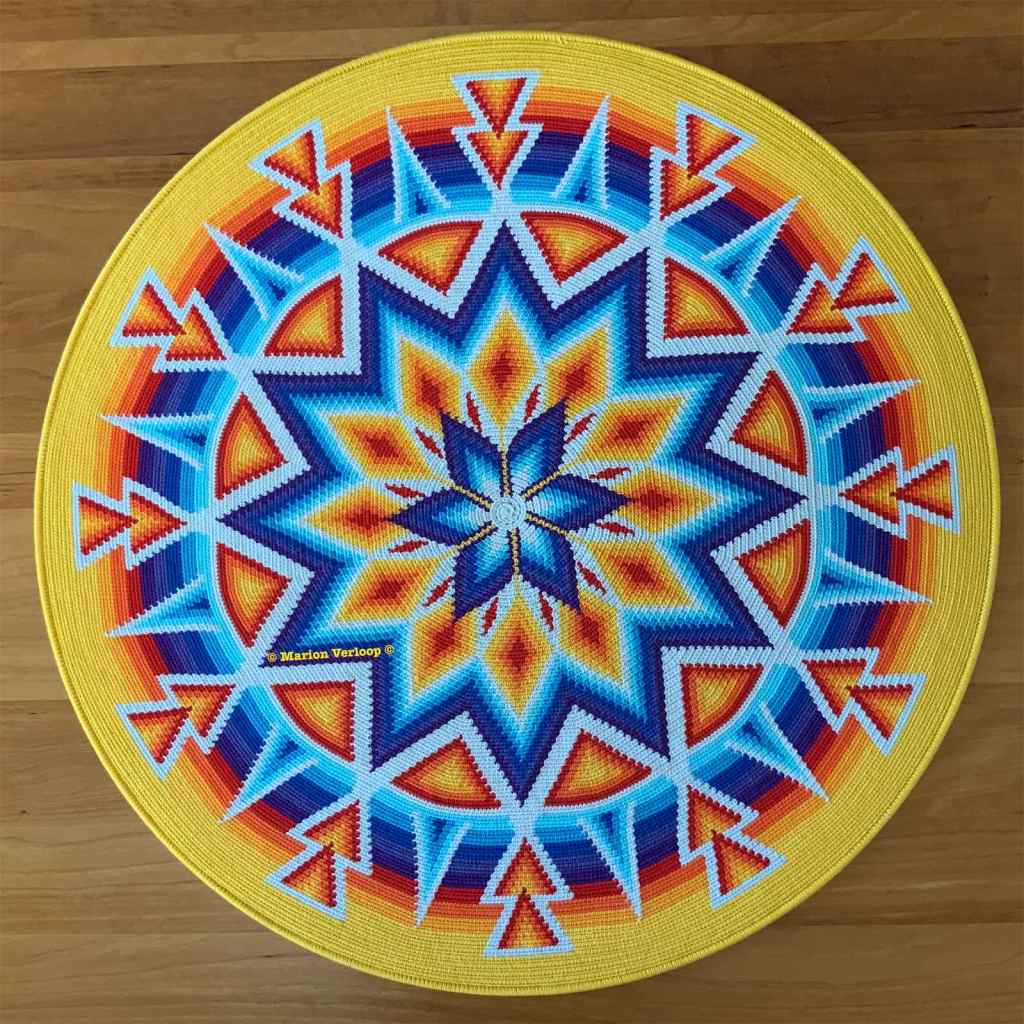
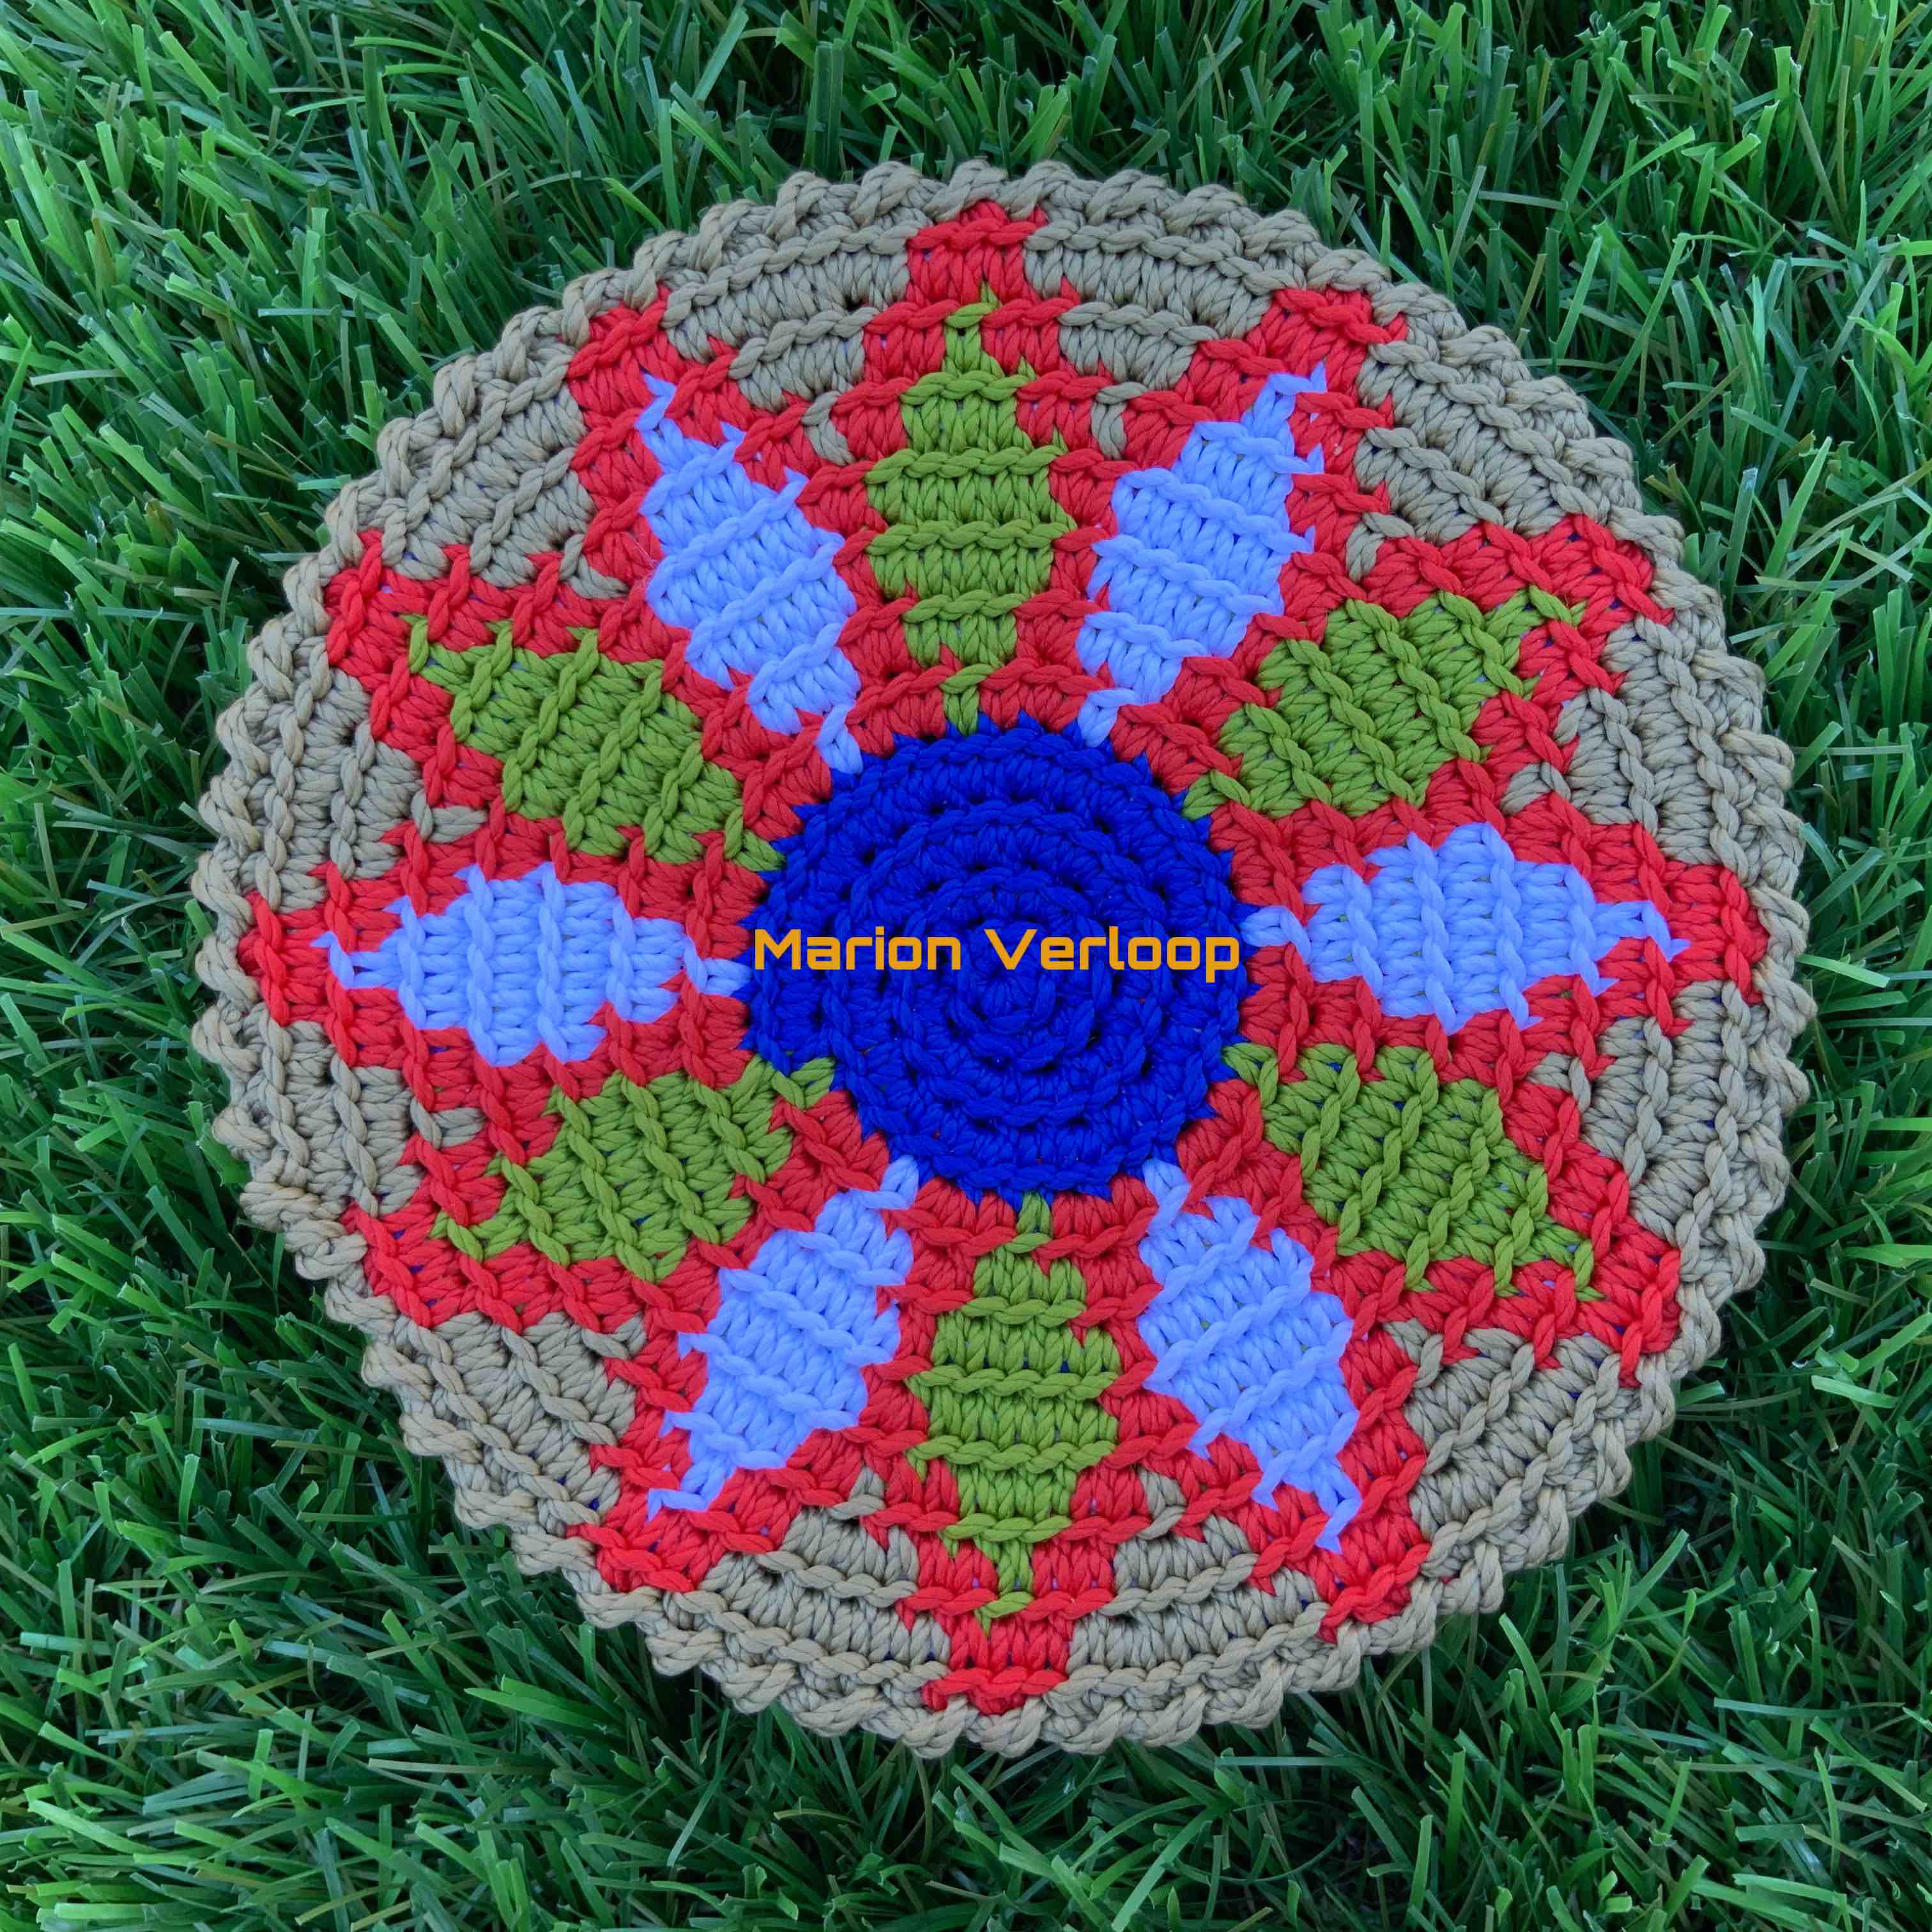
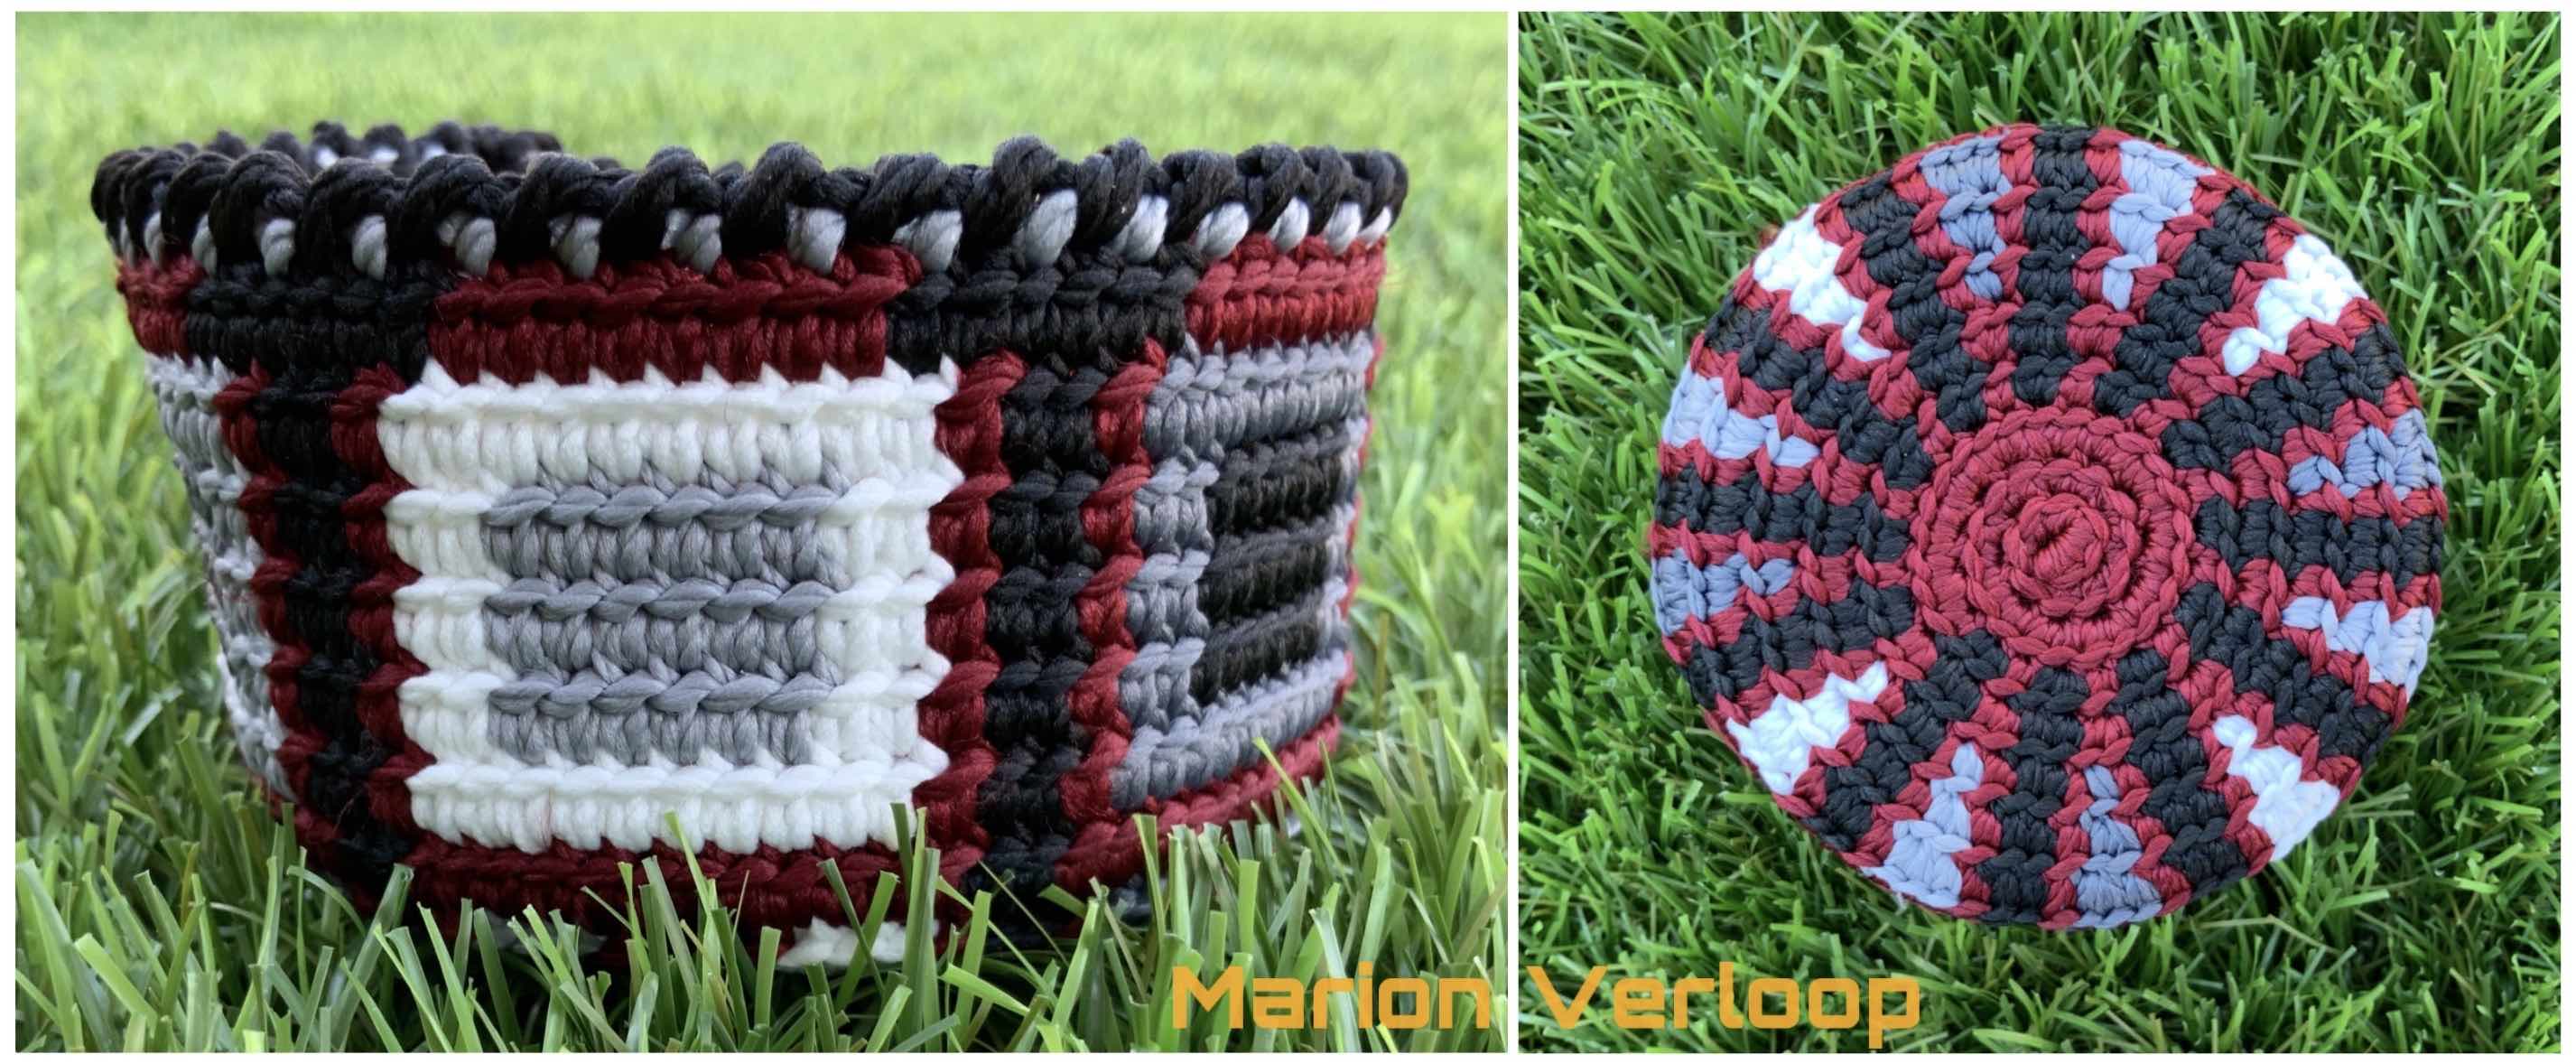
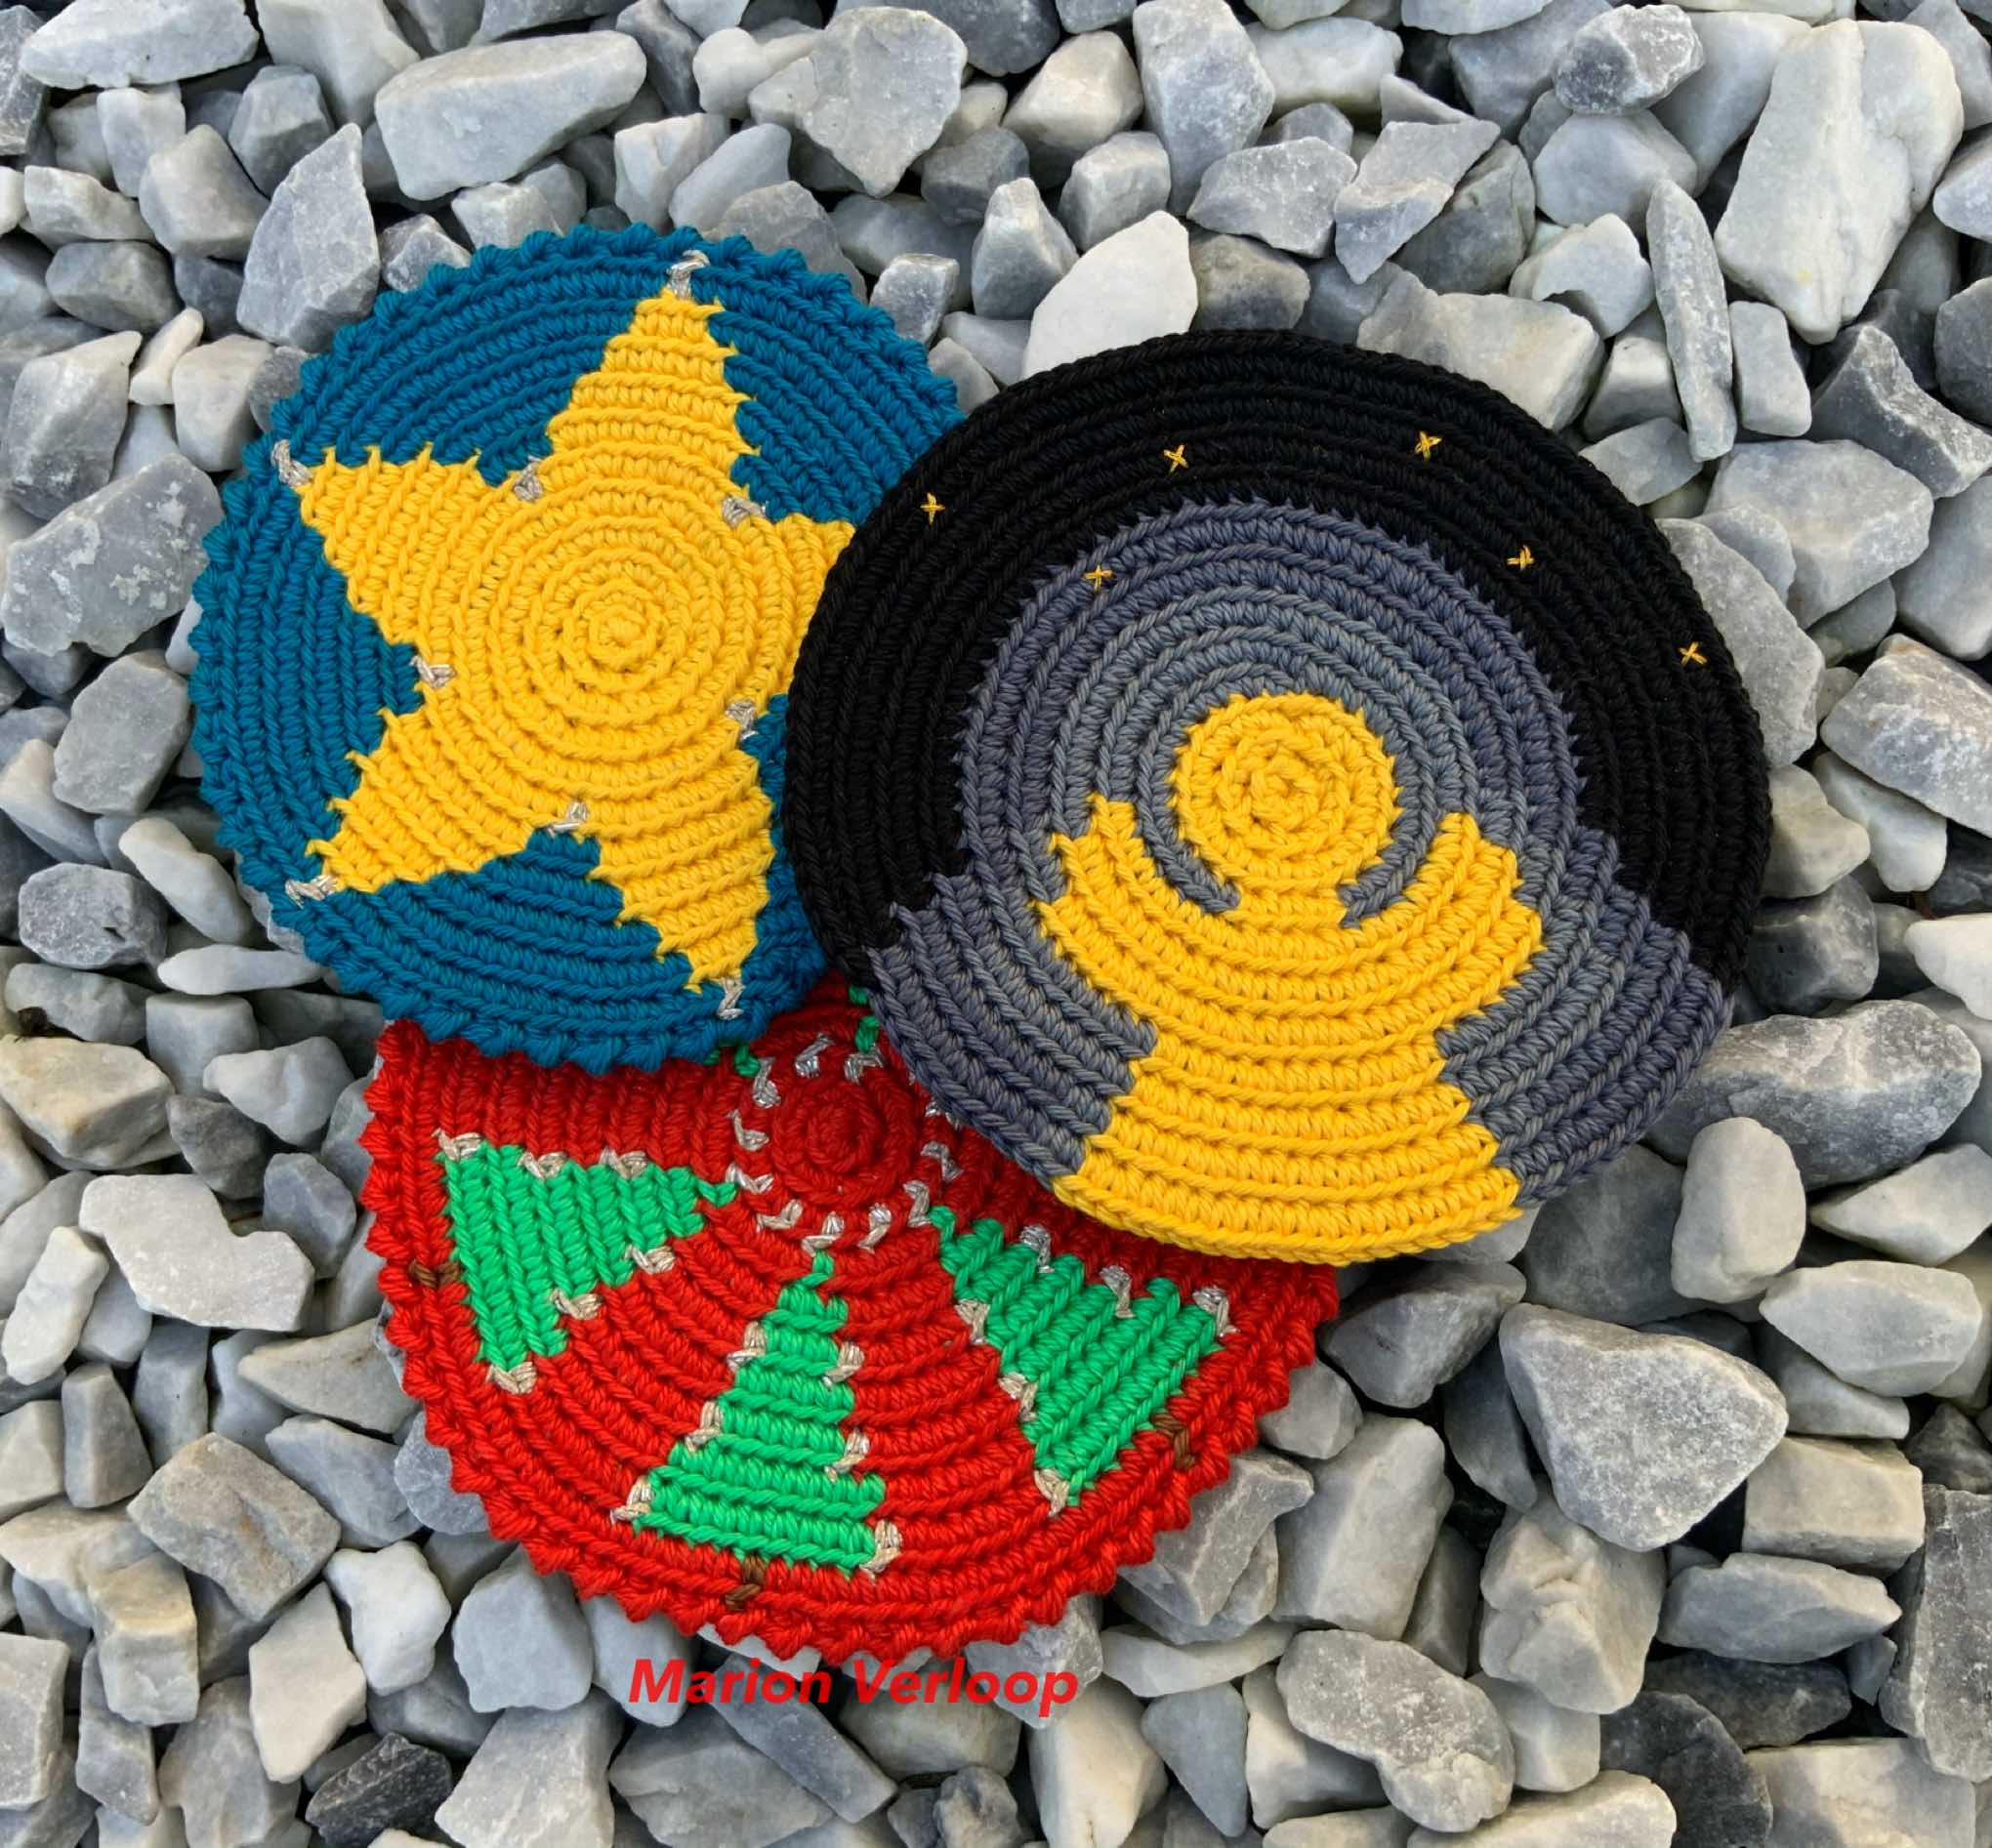
I really enjoy designing and making Mochila bottoms so I started right away. The shape of this design actually happend by accident.
When I had finished the middle part and added the spikes on one side, my husband looked at it and said: “Oh it would look great if you only have those spikes on the sides.”
My first reaction was: No that’s not right, they should go all the way around.
But then I figured it wouldn’t hurt to try drawing the spikes on the other side first. I could always fill in the rest later…. Thank you Cor for thinking outside the box.
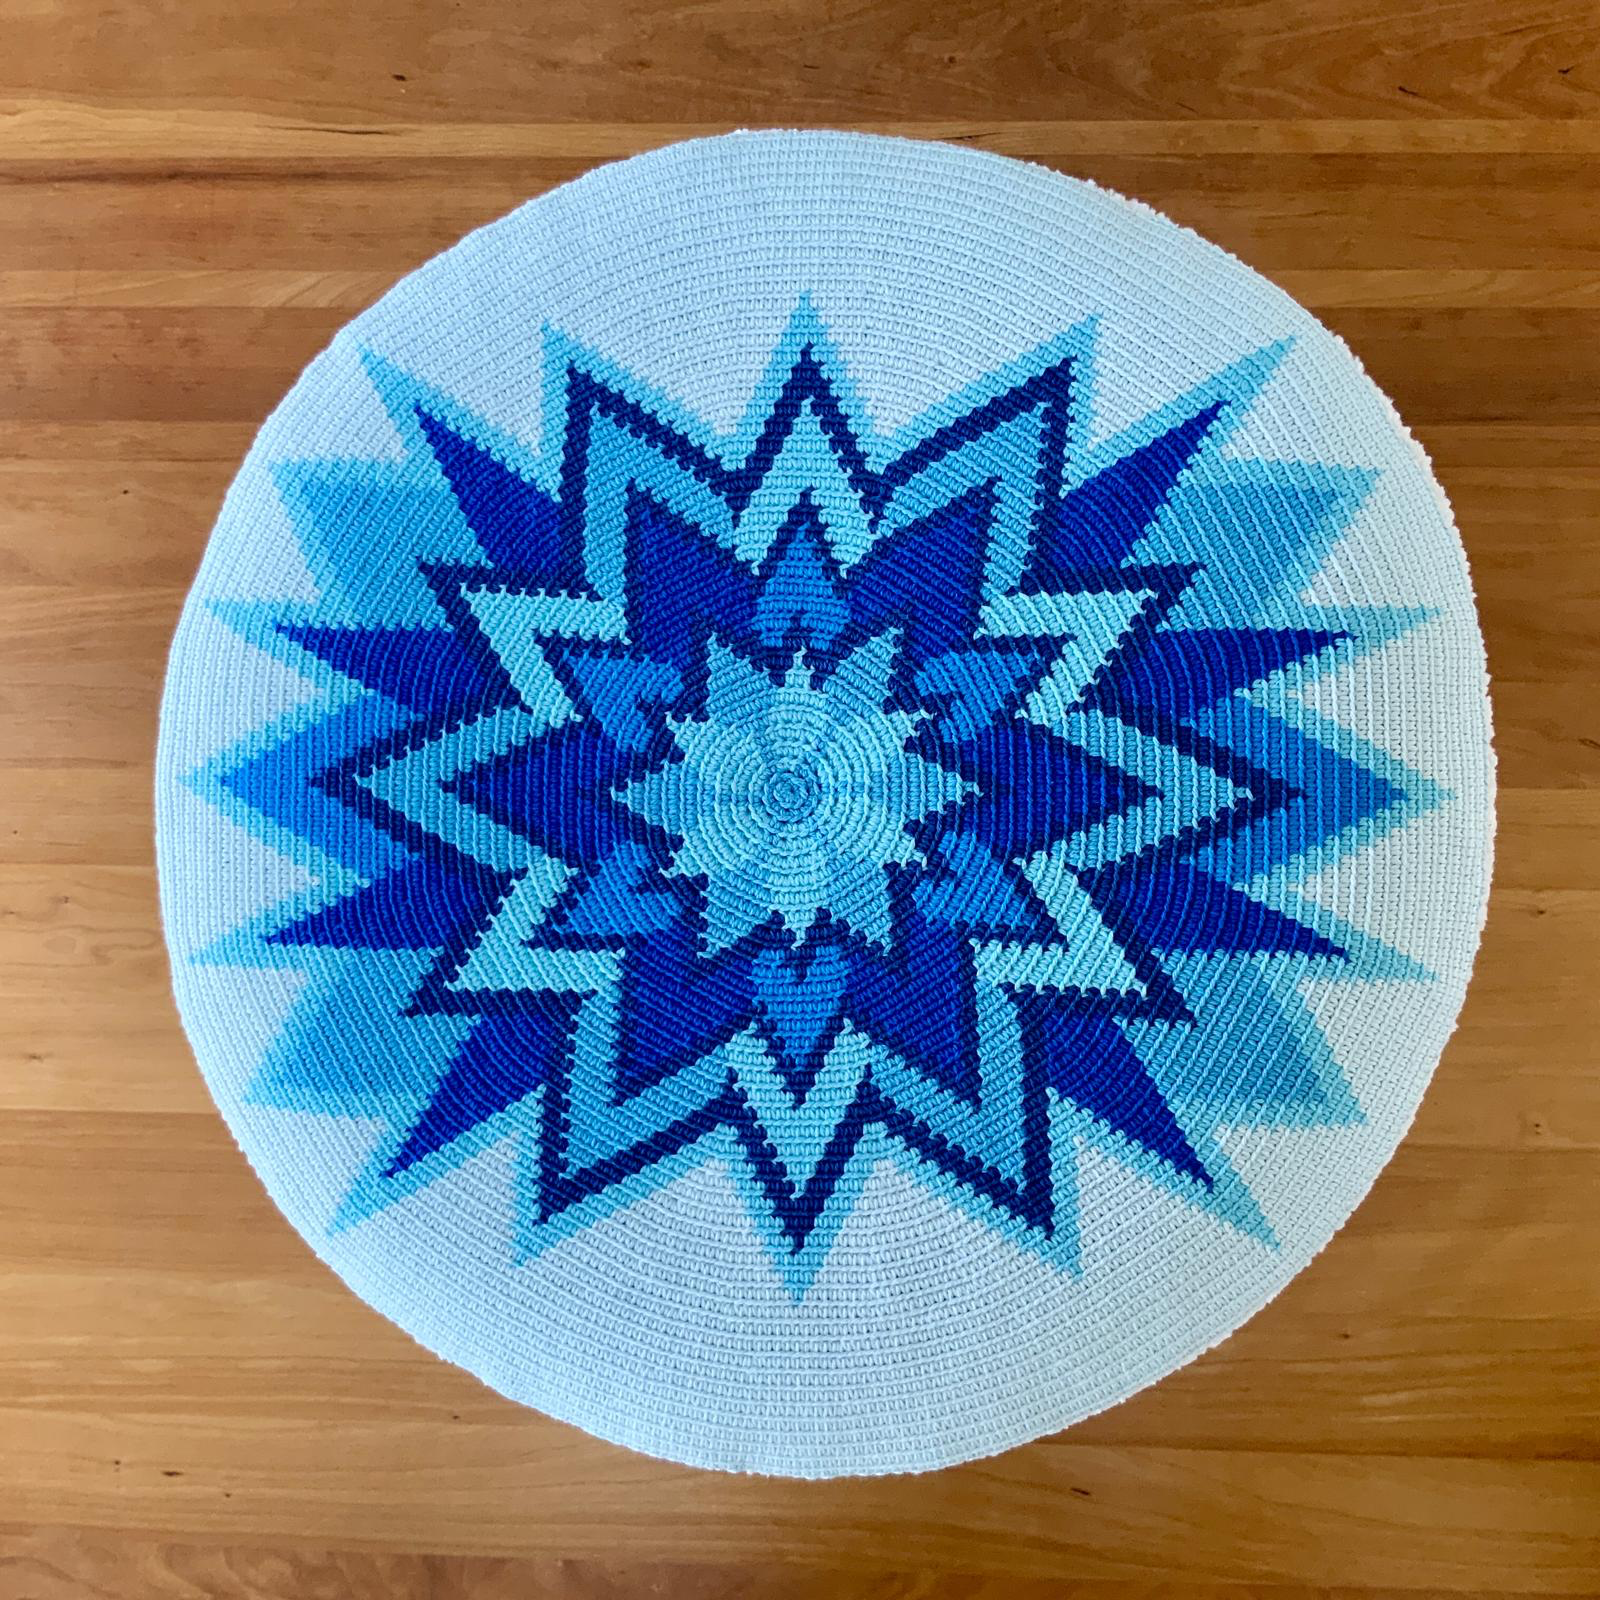
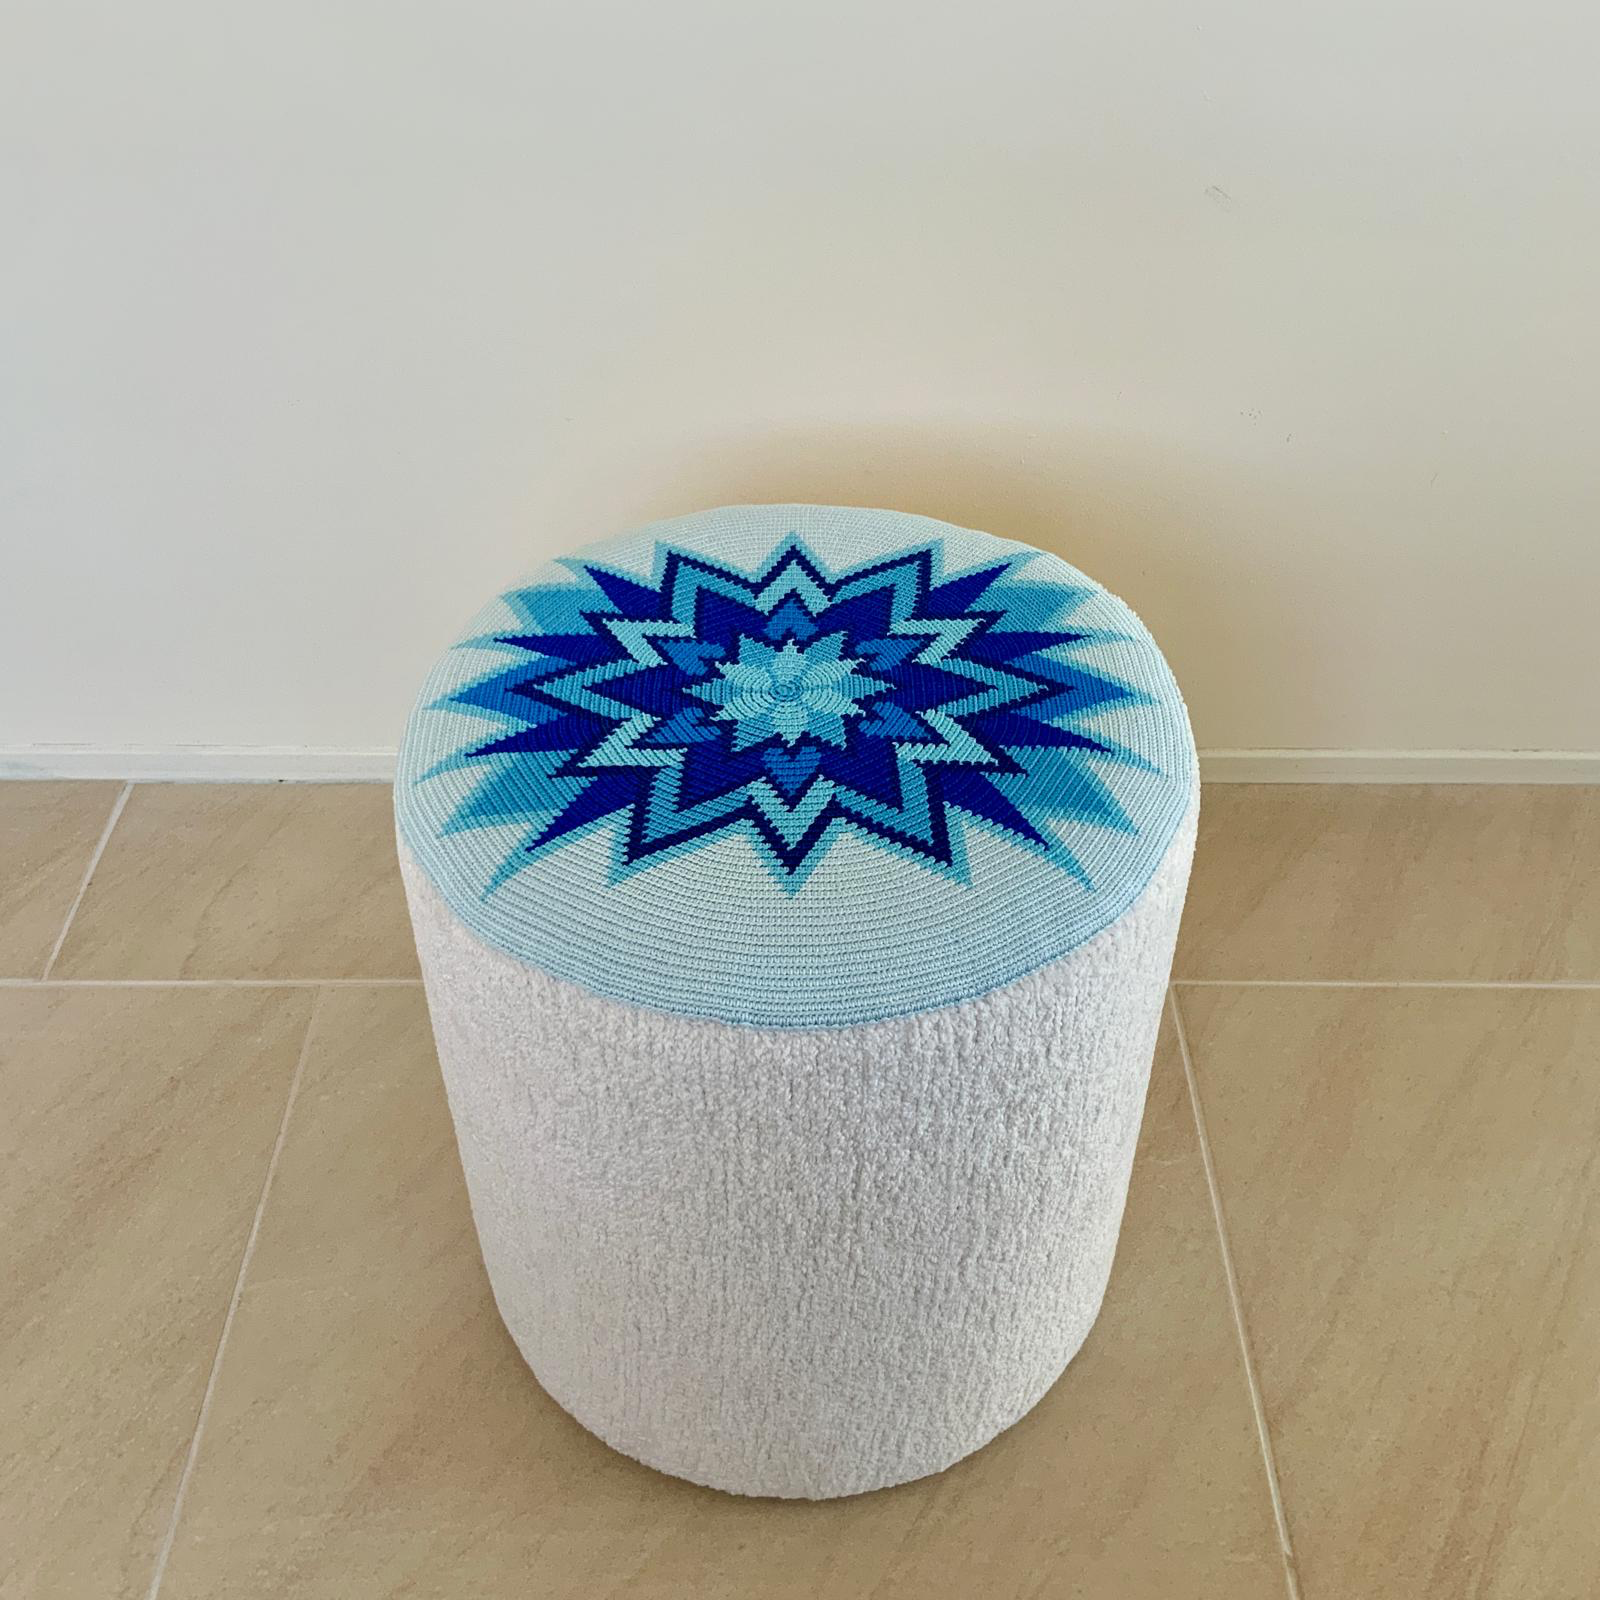
Once I knew the final size of my Mochila bottom, I started wondering: Do I really want to hang another Mochila mandala on my wall? Maybe I could turn it into a pillow instead. So time to go shopping.
I first looked for an inner pillow, but I could not find it locally. Then I thought: I could also buy a finished pillow and sew my work onto it. I went to a furniture store with lots of pillows, and that is where I saw a footstool, with the perfect diameter for my Mochila bottom. I bought it, put it on the back of my bike and walked home. Cycling with it did not feel safe… although my younger self probably would have tried 😄
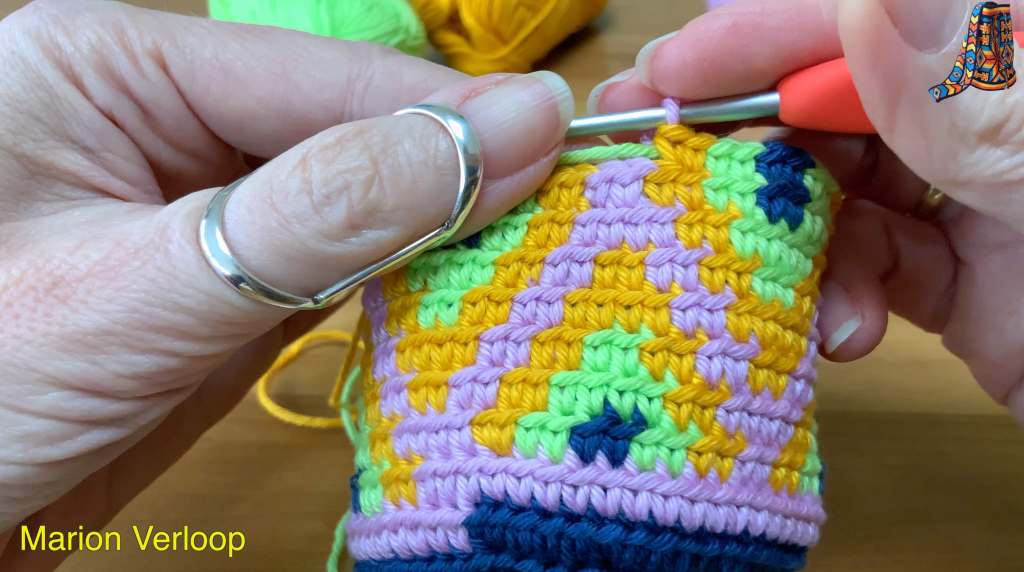
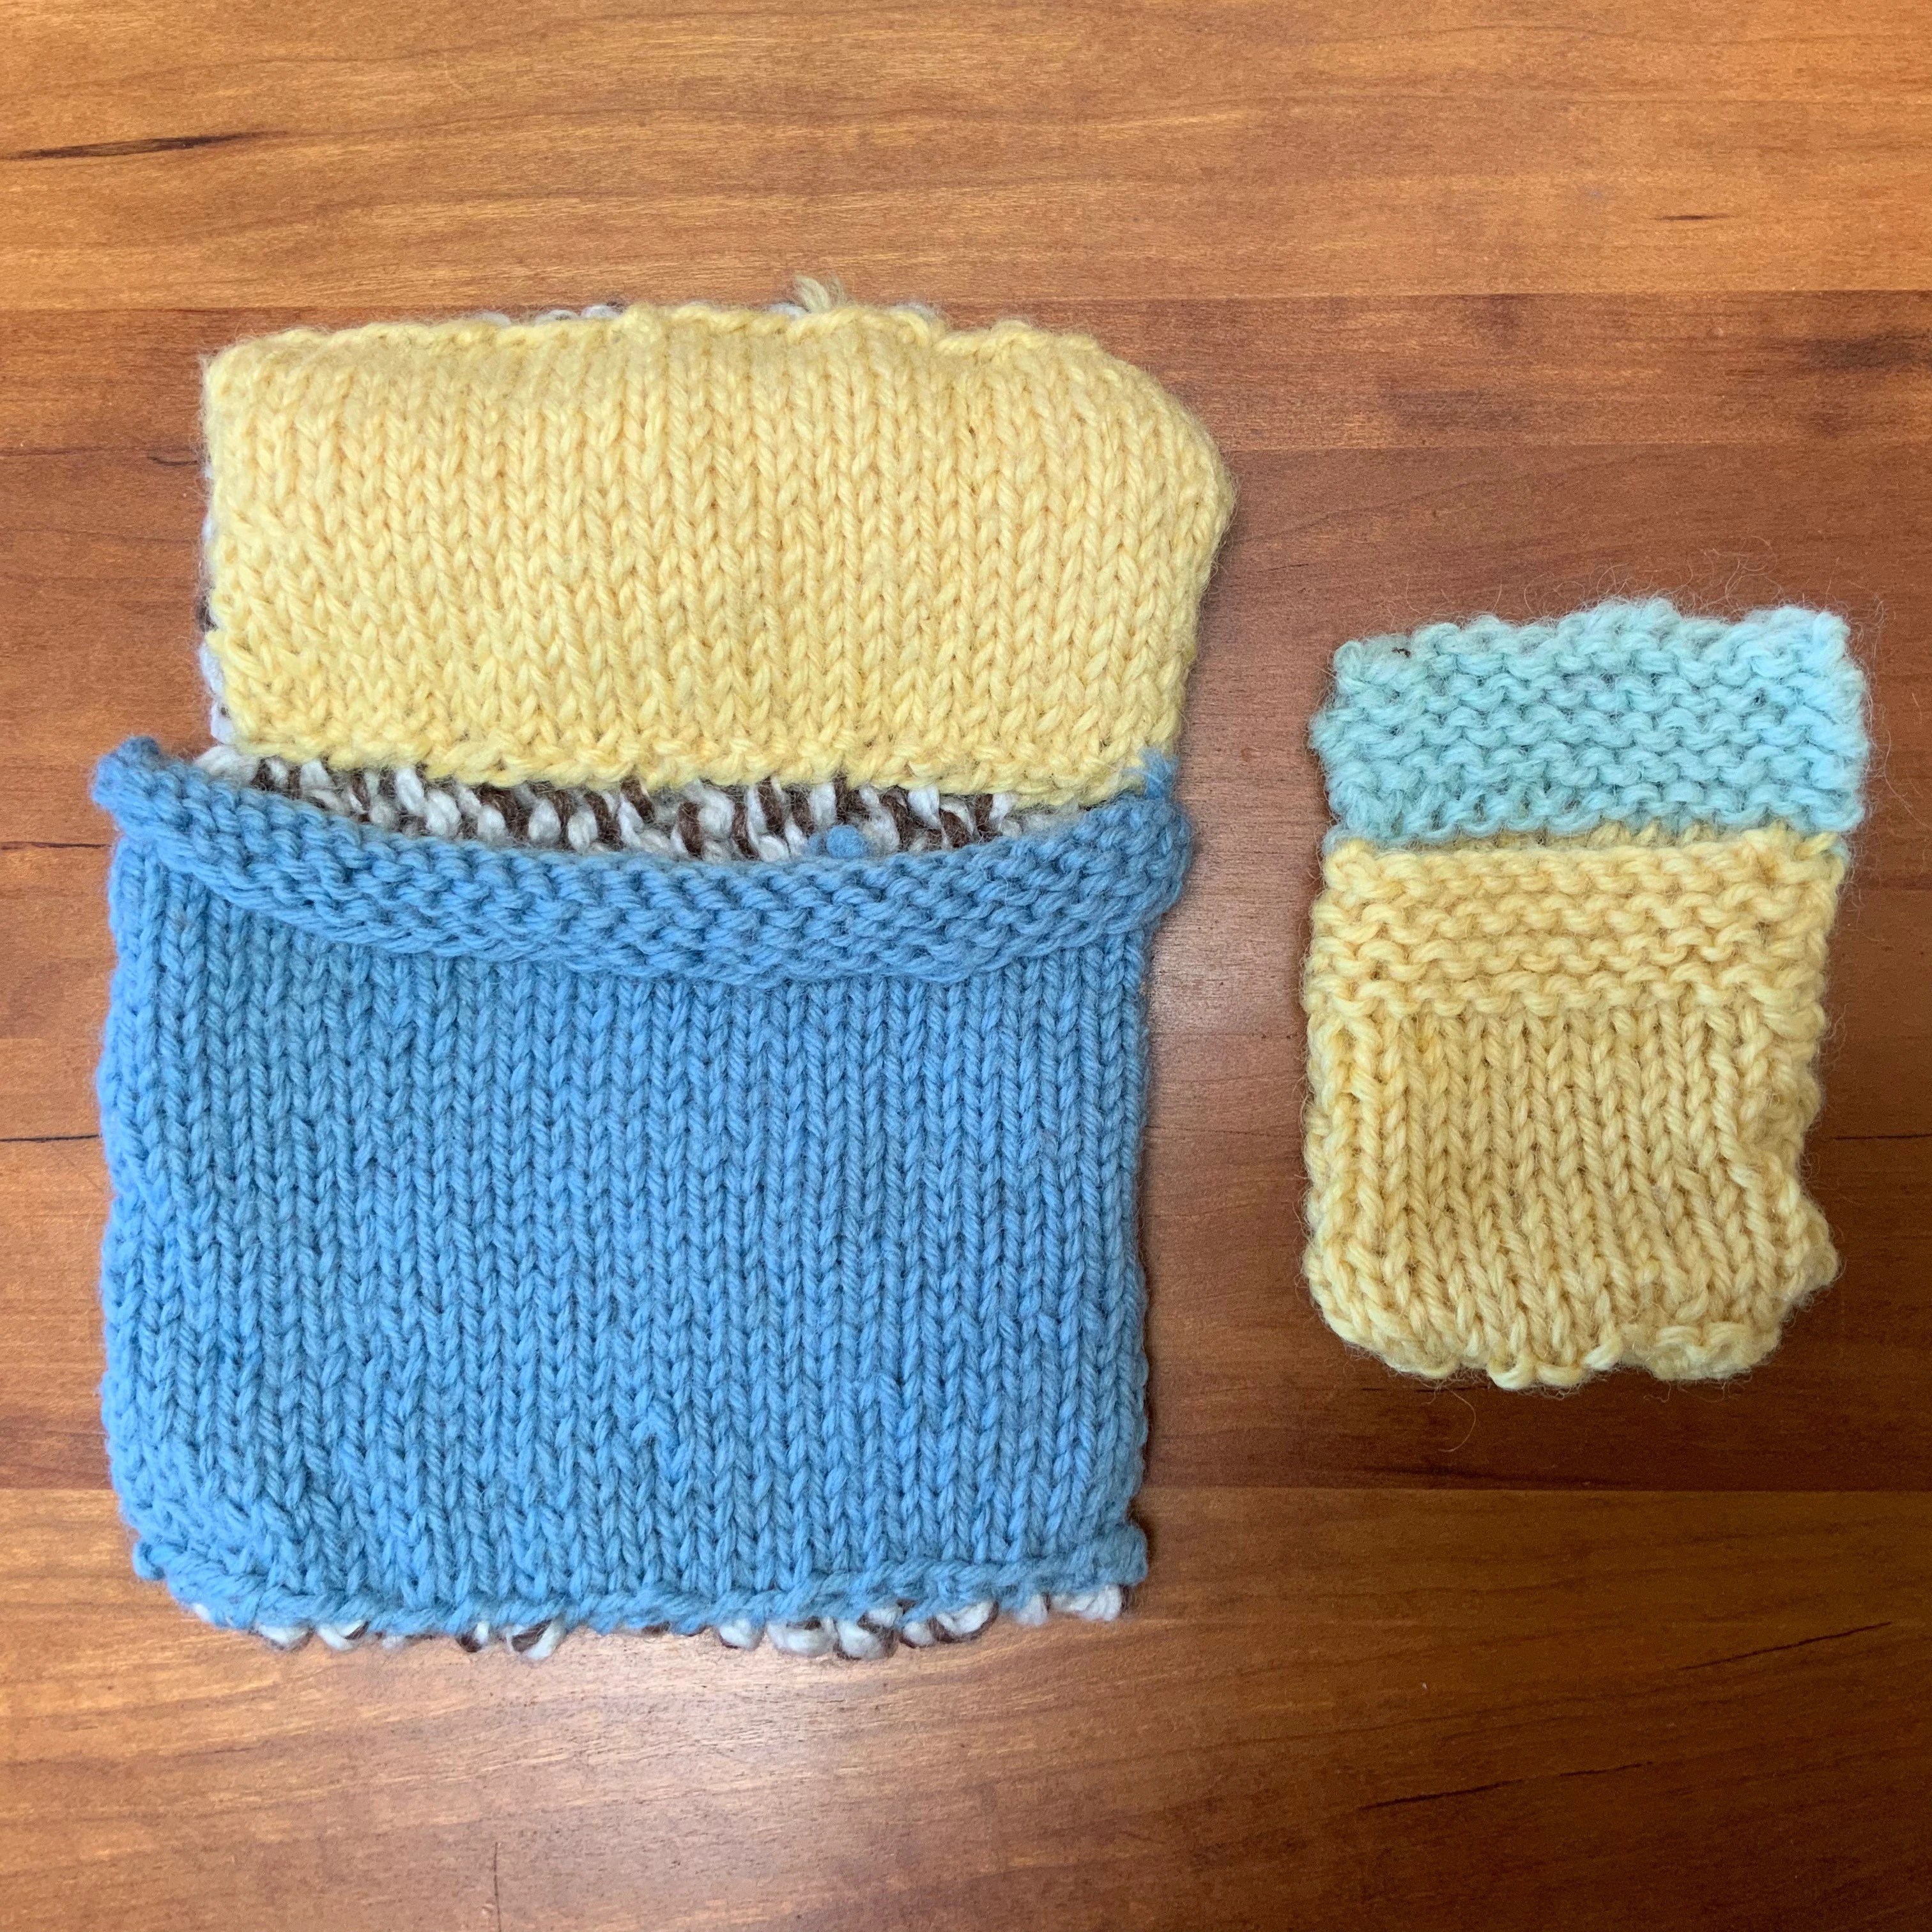
For me, every new design starts with making a graph. I do this on my iPad. The quality of this graph is good enough for me to be able to crochet from and it is easy to adjust while I am crocheting. I always try to hide the jog as much as possible, and the best way for me to do that is simply by crocheting the piece.
Before I start crocheting a round, I write it out in full. Then I crochet from my written notes, this is my first check.
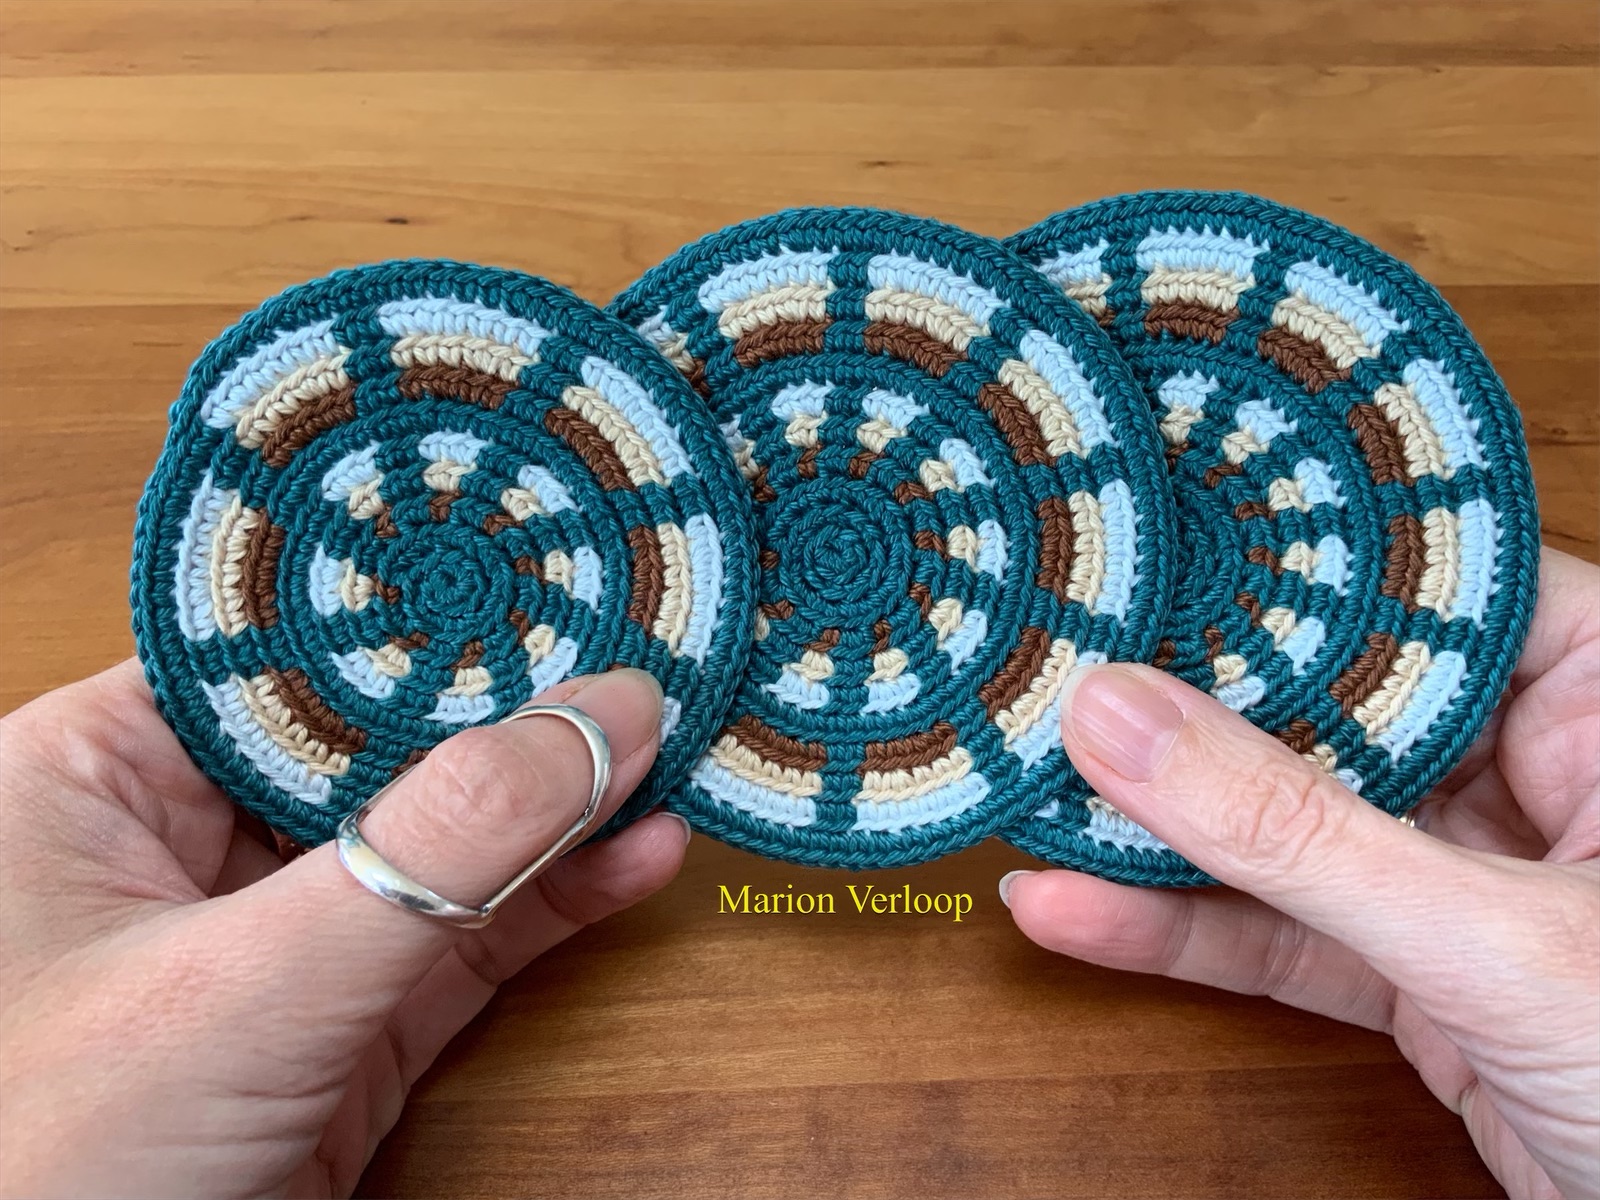
When all the rounds were written, I asked Sylvia Roosen to test the pattern for me, this was the second check.
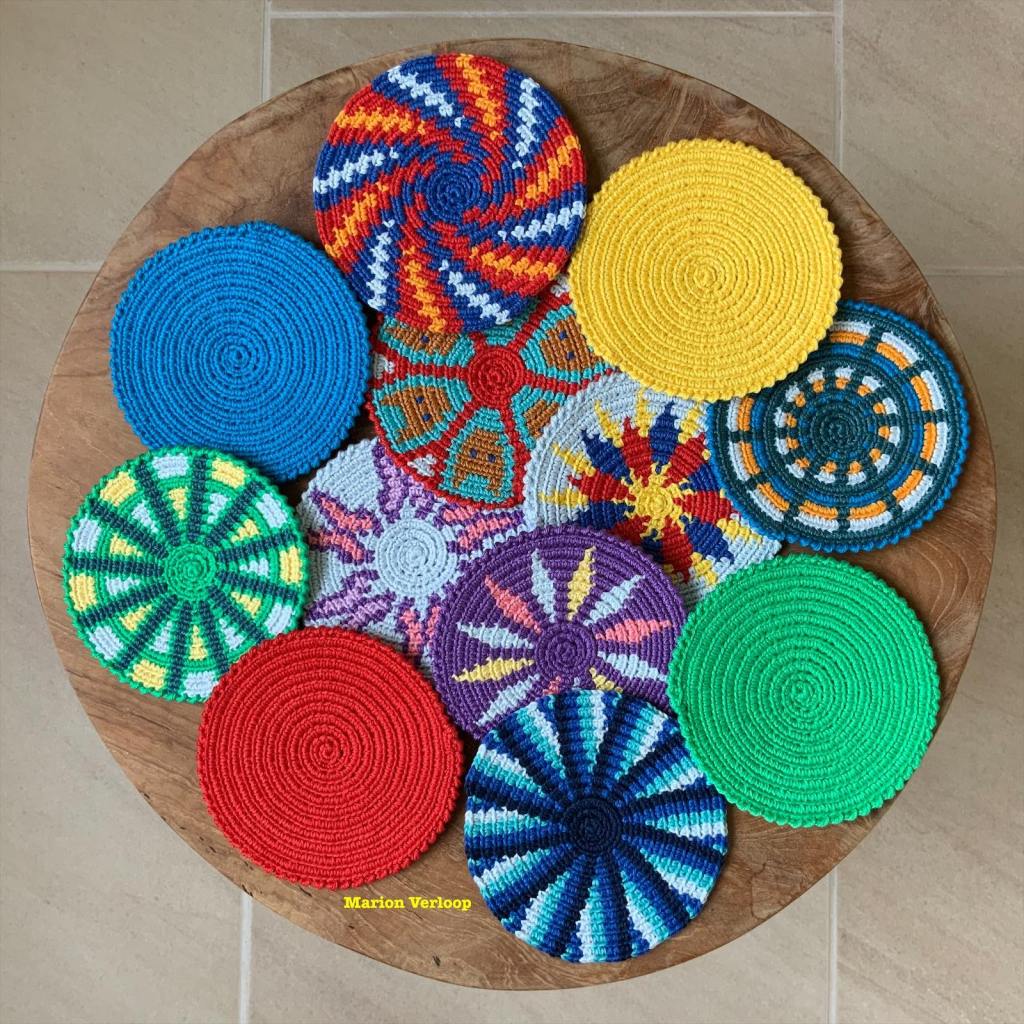
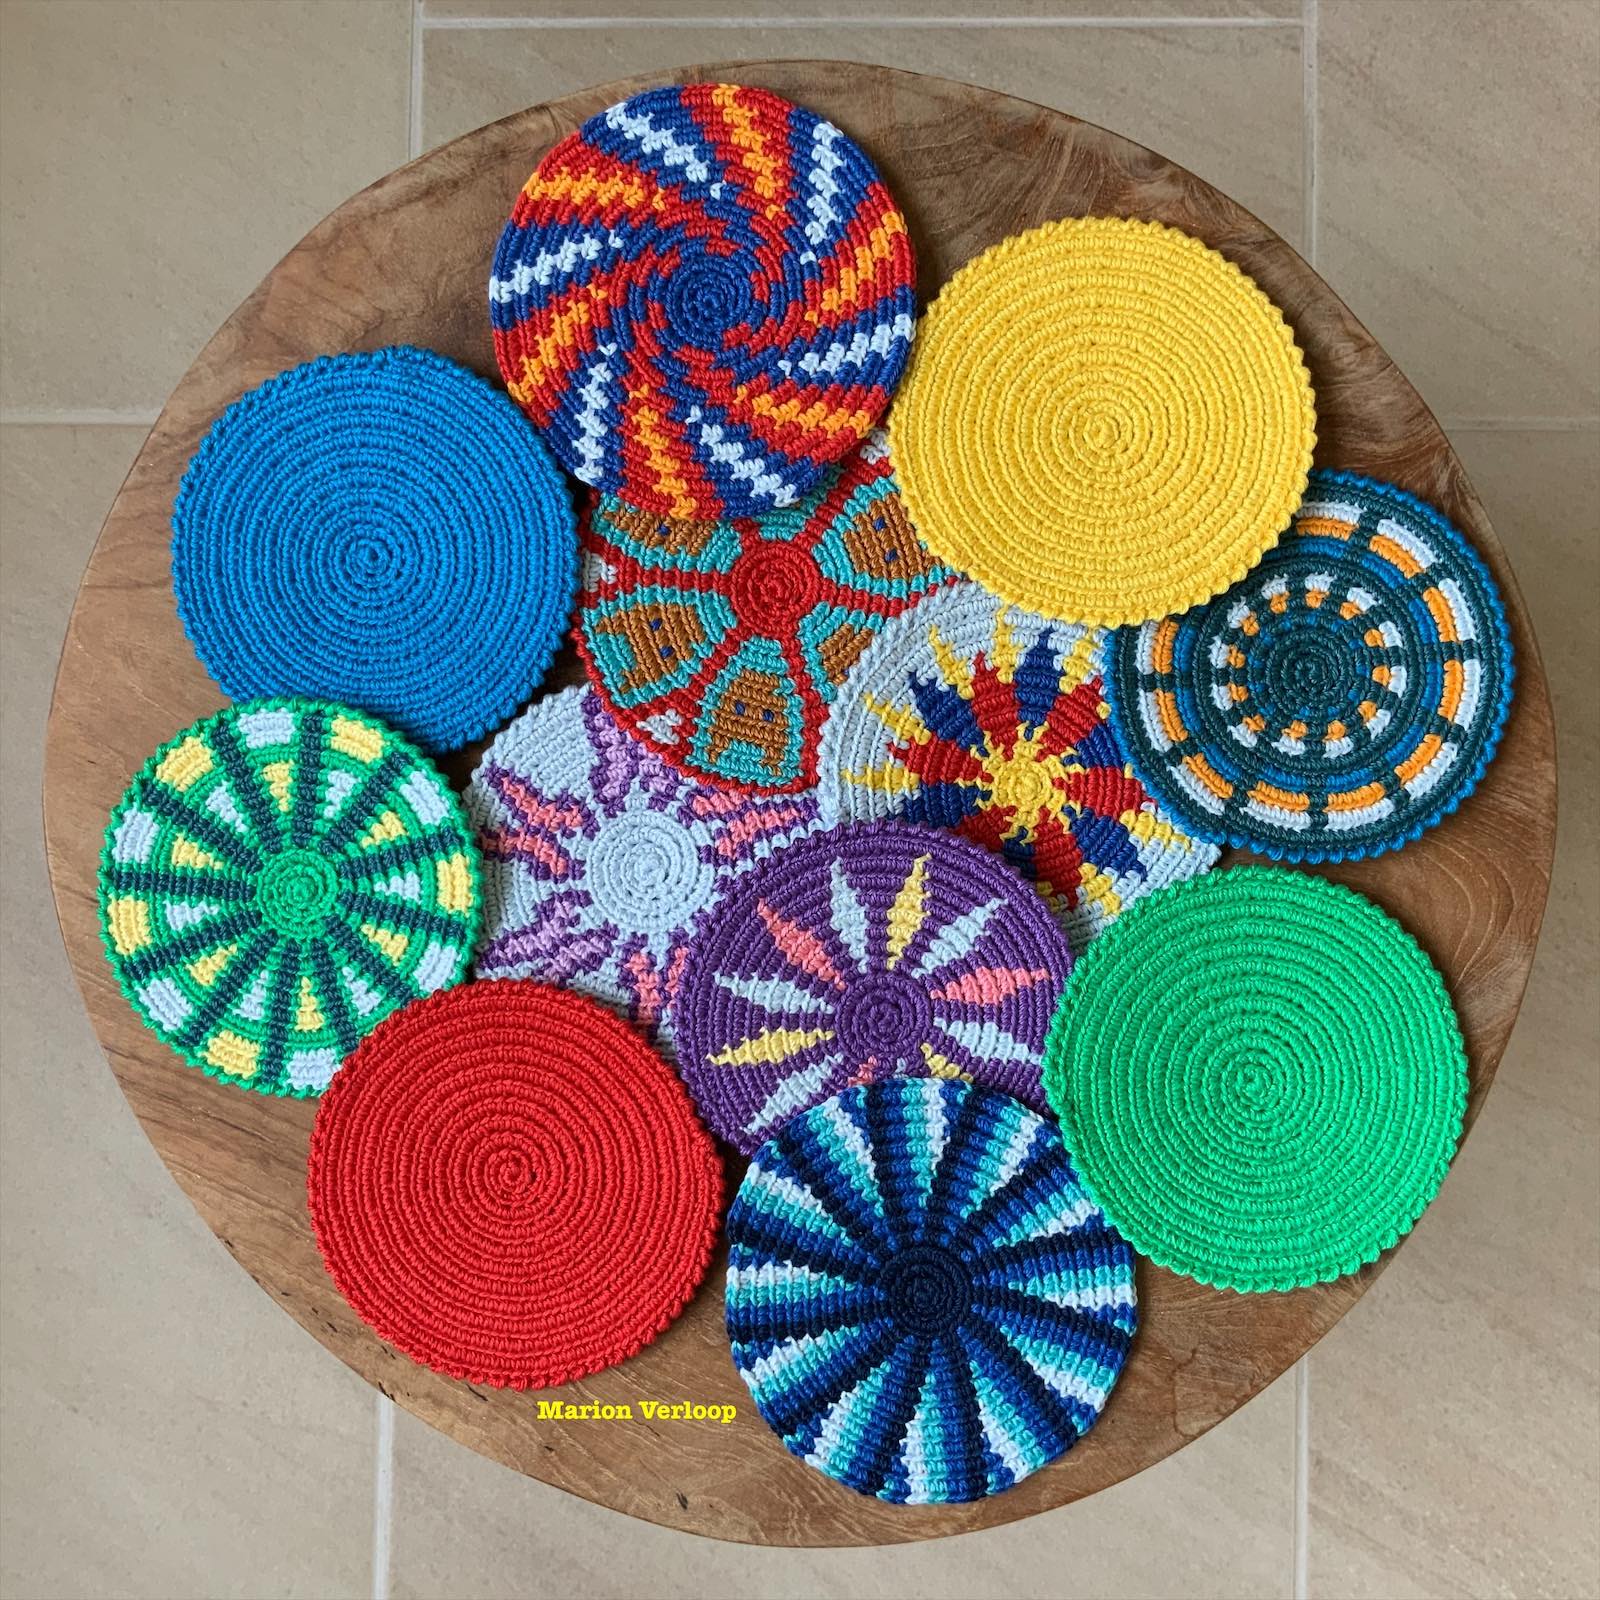
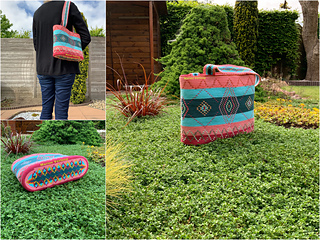
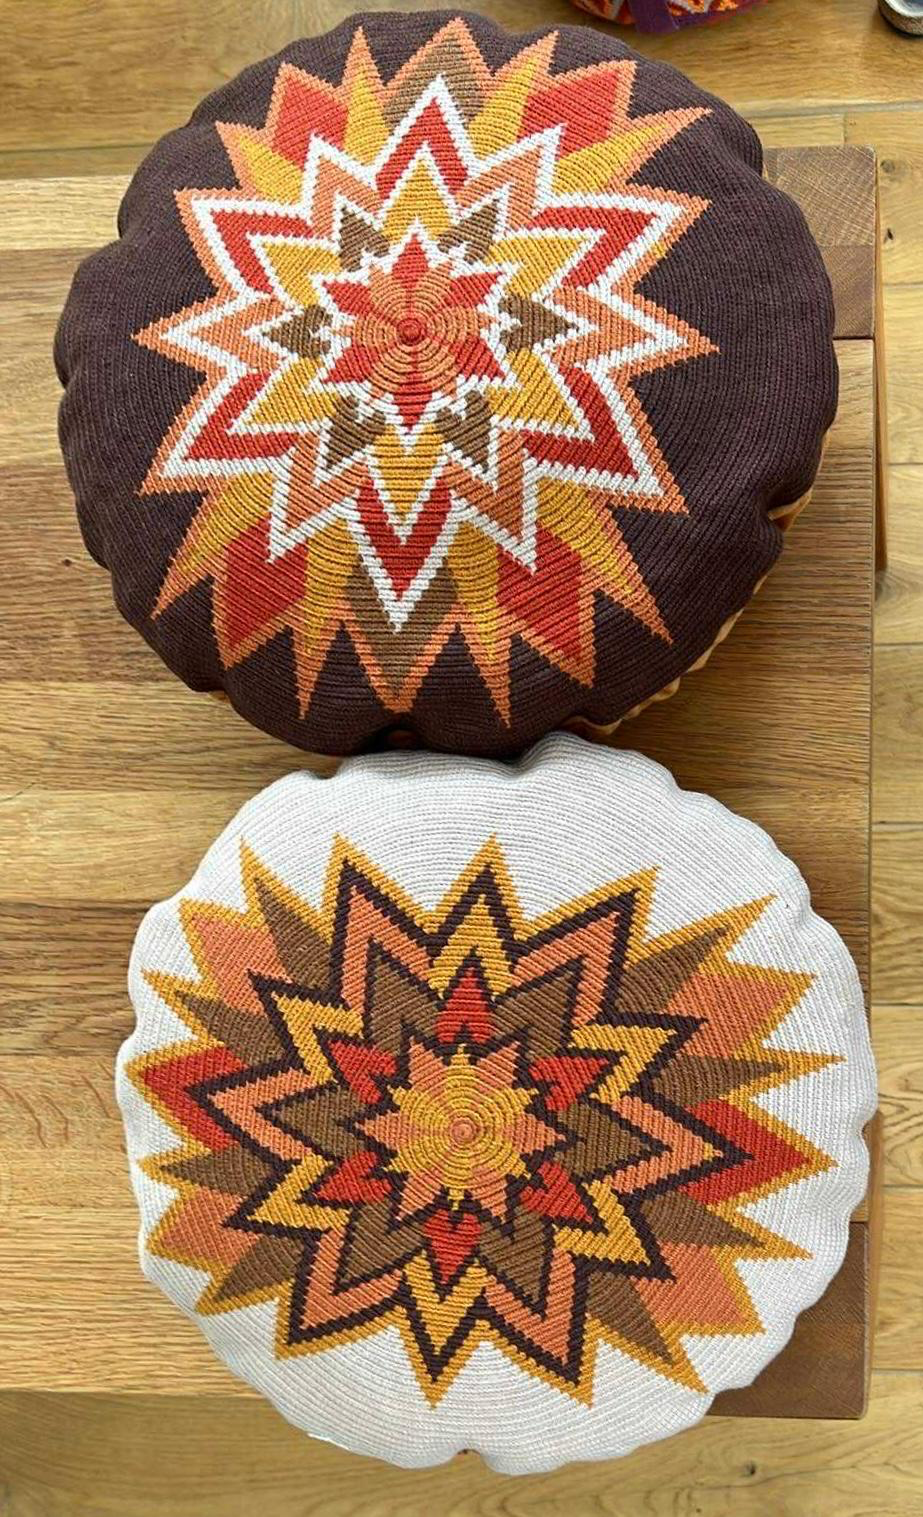
I asked her to use different colors, because it is always helpful to see how a design looks in another color combination.
Sylvia decided to turn her work into a pillow. She even made two pillows, she used the same colors for the second pillow, but in a different color order.
They look awesome!
As mentioned before, my own graph works fine for designing, but it is not good enough for a finished pattern. That meant it was time to visit my oldest son. He creates high-quality graphs for me and also checks my patterns. He is better at both English and Dutch than I am, which helps a lot.
Then comes another round of checking, including the written instructions. I sit with the graph in front of me and read it out loud: 5B, 1F, inc F, 5C. My husband checks whether that matches what I have written. He also added this blog to my website.
So in the end creating a pattern like the Starburst Footstooltopper involves five people.
Thank you Cor, Christiaan, Marieke and Sylvia.
You can find the Mochila Starburst Footstool Topper & Pillow Cover pattern on Ravelry:
https://www.ravelry.com/patterns/library/starburst-footstooltopper